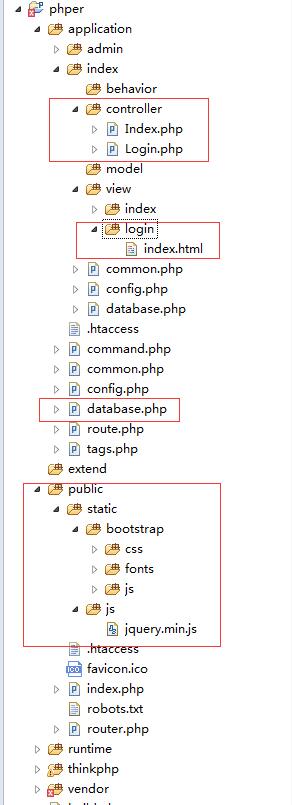
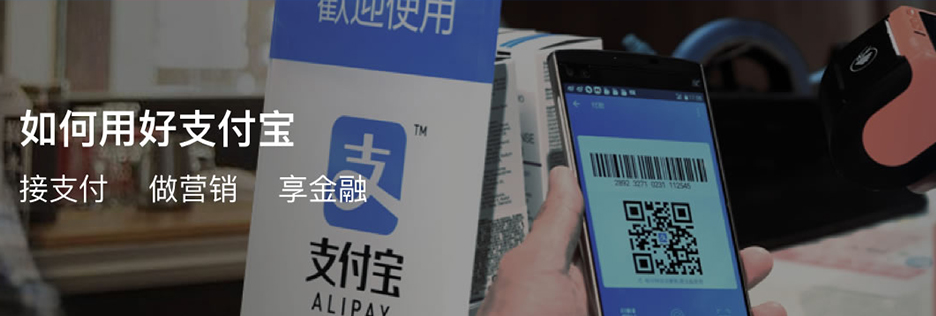
今年thinkphp推出了5.0版本,相比以往版本更轻更便捷了。由于业务需要使用支付宝支付,兔子工程整合了支付宝支付接口,在此分享给各位奋战在一线的攻城狮们,希望对你们有帮助。
传送门:Thinkphp
5.0版本整合微信扫码支付接口
本文所带附件是一个完整的实例文件,给各位提供参考,如有逻辑有考虑不周的地方,还望指出。
首先创建一个模型(Pay.php)用来提交订单到支付宝和接收支付宝异步通知(案例中放弃了同步通知,本人觉得同步通知完全没必要)
<?php
namespace appindexmodel;
use thinkValidate;
use thinkLog;
class Pay extends thinkModel
{
public static $alipay_config = [
'partner' => '2088************',//支付宝partner,2088开头数字
'seller_id' => '2088************',//支付宝partner,2088开头数字
'key' => '****************',//支付宝密钥
'sign_type' => 'MD5',
'input_charset' => 'utf-8',
'cacert' => '',
'transport' => 'http',
'payment_type' => '1',
'service' => 'create_direct_pay_by_user',
'anti_phishing_key' => '',
'exter_invoke_ip' => '',
];
public function alipay($data=[])
{//发起支付宝支付
$validate = new Validate([
['out_trade_no','require|alphaNum','订单编号输入错误|订单编号输入错误'],
['total_fee','require|number|gt:0','金额输入错误|金额输入错误|金额输入错误'],
['subject','require','请输入标题'],
['body','请输入描述'],
['notify_url','异步通知地址不为空'],
]);
if (!$validate->check($data)) {
return ['code'=>0,'msg'=>$validate->getError()];
}
$config = self::$alipay_config;
vendor('alipay.alipay');
$parameter = [
"service" => $config['service'],
"partner" => $config['partner'],
"seller_id" => $config['seller_id'],
"payment_type" => $config['payment_type'],
"notify_url" => $data['notify_url'],
"return_url" => $data['return_url'],
"anti_phishing_key" => $config['anti_phishing_key'],
"exter_invoke_ip" => $config['exter_invoke_ip'],
"out_trade_no" => $data['out_trade_no'],
"subject" => $data['subject'],
"total_fee" => $data['total_fee'],
"body" => $data['body'],
"_input_charset" => $config['input_charset']
];
$alipaySubmit = new AlipaySubmit($config);
return ['code'=>1,'msg'=>$alipaySubmit->buildRequestForm($parameter,"get","确认")];
}
public function notify_alipay()
{//异步订单结果通知
$config = self::$alipay_config;
vendor('alipay.alipay');
$alipayNotify = new AlipayNotify($config);
if($result = $alipayNotify->verifyNotify()){
if(input('trade_status') == 'TRADE_FINISHED' || input('trade_status') == 'TRADE_SUCCESS') {
// 处理支付成功后的逻辑业务
Log::init([
'type' => 'File',
'path' => LOG_PATH.'../paylog/'
]);
Log::write($result,'log');
return 'success';
}
return 'fail';
}
return 'fail';
}
}
?>
创建好模型后,我们可在任何需要的位置直接调用模型,实现支付宝订单提交以及用户支付完成后的异步通知逻辑处理
接下来我们创建一个示例控制器(Index.php):
<?php
namespace appindexcontroller;
use appindexmodelPay;//调用模型
error_reporting(0);
class Index extends thinkController
{
public function alipay()
{//发起支付宝支付
if(request()->isPost()){
$Pay = new Pay;
$result = $Pay->alipay([
'notify_url' => request()->domain().url('index/index/alipay_notify'),
'return_url' => '',
'out_trade_no' => input('post.orderid/s','','trim,strip_tags'),
'subject' => input('post.subject/s',
'total_fee' => input('post.total_fee/f'),//订单金额,单位为元
'body' => input('post.body/s',
]);
if(!$result['code']){
return $this->error($result['msg']);
}
return $result['msg'];
}
$this->view->orderid = date("YmdHis").rand(100000,999999);
return $this->fetch();
}
public function alipay_notify()
{//异步订单通知
$Pay = new Pay;
$result = $Pay->notify_alipay();
exit($result);
}
}
最后一步,创建测试模板(alipay.html):
<!doctype html>
<html lang="zh-CN">
<head>
<meta charset="utf-8">
<title>支付宝支付</title>
<base href="{:request()->domain()}" />
<link href="static/css/bootstrap.css" rel="stylesheet">
<link href="static/css/common.css" rel="stylesheet">
<link href="static/css/admin.css" rel="stylesheet">
<script src="static/js/jquery-1.12.0.min.js"></script>
<script src="static/js/bootstrap.min.js"></script>
<link rel="shortcut icon" href="favicon.ico" type="image/x-icon"/>
</head>
<body>
<div class="container">
<div class="panel panel-default">
<div class="panel-heading">
<strong>支付宝支付测试</strong>
</div>
<div class="panel-body">
<form class="form-horizontal send-form" method="post" action="{:url('index/index/alipay')}" target="_blank">
<div class="form-group">
<label class="col-sm-2 control-label">订单编号</label>
<div class="col-sm-10">
<input type="text" class="form-control" name="orderid" value="{$orderid}" readonly>
</div>
</div>
<div class="form-group">
<label class="col-sm-2 control-label">支付标题</label>
<div class="col-sm-10">
<input type="text" class="form-control" name="subject" value="账户余额充值">
</div>
</div>
<div class="form-group">
<label class="col-sm-2 control-label">支付描述</label>
<div class="col-sm-10">
<input type="text" class="form-control" name="body" value="在线充值金额到账户余额">
</div>
</div>
<div class="form-group">
<label class="col-sm-2 control-label">支付金额</label>
<div class="col-sm-10">
<input type="text" class="form-control" name="total_fee" value="0.1">
</div>
</div>
<div class="form-group">
<div class="col-sm-offset-2 col-sm-10">
<button type="submit" class="btn btn-success">立即支付</button>
</div>
</div>
</form>
</div>
</div>
</div>
</body>
</html>
当提交订单到控制后,控制器调用支付宝模型向支付宝发起支付,用户完成支付后,支付宝向预设的链接地址发起异步通知(异步通知仅支持在公网内测试,因此以上内容请在公网中进行)
在其他控制器或者模型或任何地方调用,请直接实例化支付模型
$Pay = new Pay;//实例化前请先导入类或者使用use语法
$result = $Pay->alipay([
'notify_url' => request()->domain().url('index/index/alipay_notify'),//支付结果通知地址,完整url
'return_url' => '',//同步通知地址
'out_trade_no' => input('post.orderid/s',//本站订单编号
'subject' => input('post.subject/s',//支付标题
'total_fee' => input('post.total_fee/f'),//订单金额,单位为元例如:0.1
'body' => input('post.body/s',//支付说明
]);
if(!$result['code']){//模型会对提交的数据进行验证,如果code=0那么$result['msg']的结果为验
return $this->error($result['msg']);
}
//如果验证成功,$result['msg']为支付宝提交表单,直接输出即可
return $result['msg'];